
Top Ten Tips for Taking Photos of the Milky Way in the Desert
As you traverse the many deserts that your Wild West Challenge takes you through, miles from any light pollution, you’ll get to glimpse of our gorgeous galaxy at nightfall every night. They myriads of stars twinkling above almost beg to be photographed, but as anyone who’s ever pointed their phone at natural wonders knows all too well in the hope of capturing the unutterably spectacular sight, is in for a massive letdown. Fortunately, you don’t need to become a professional photographer to take great shots: if you follow the rules of thumb below, you too stand a reasonable chance of getting a result you can be proud of.
Photo by Vincent Lock
Equipment
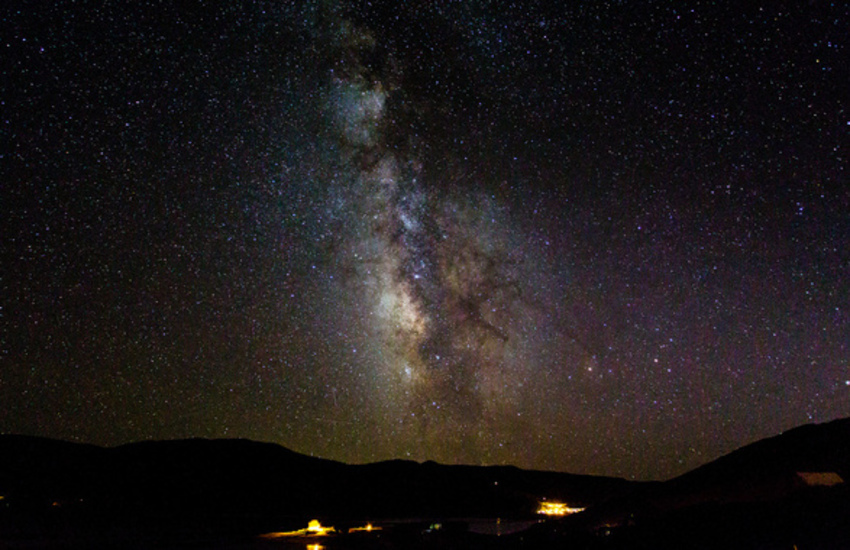
Photo by UnknownNet Photography
No great shots without decent gear, but you already knew that. You know which brands are worth your cash; any one of these with a manual mode will get the job done. You’ll also need a wide angle lens, and a sturdy tripod. This is key to astrophotography – you’ll need it for the long exposures while you gather enough light on your sensor. Finally, carry a light set of equipment, because you may need to walk a bit to find your perfect position.
Timing
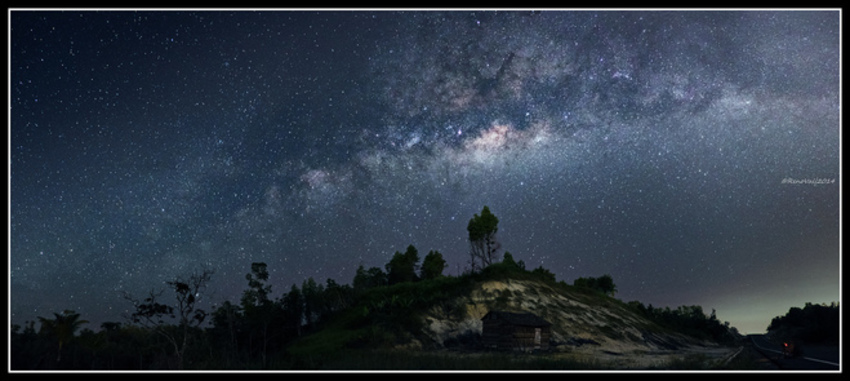
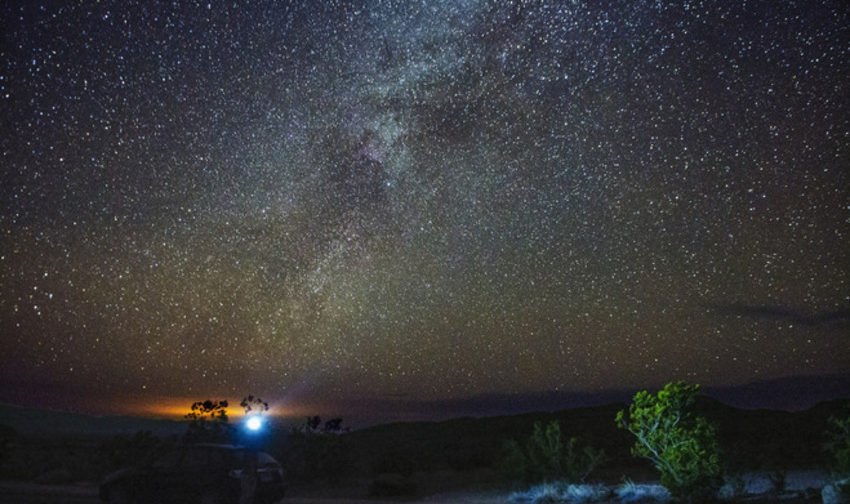
Photo by Dustin Iskandar
The galactic center of the Milky Way, with all its amazing colors and nebulas, is visible April to August in the northern hemisphere, which just happens to coincide with the timing of the Wild West Challenge, yay. In April-May, it will rise around 2 a.m. However, temperatures in the desert can reach around 40 Degrees Celsius even at night, which is a real problem for the cameras, especially when you combine heat noise due to the with the long exposure you need for a good shot.
Composition
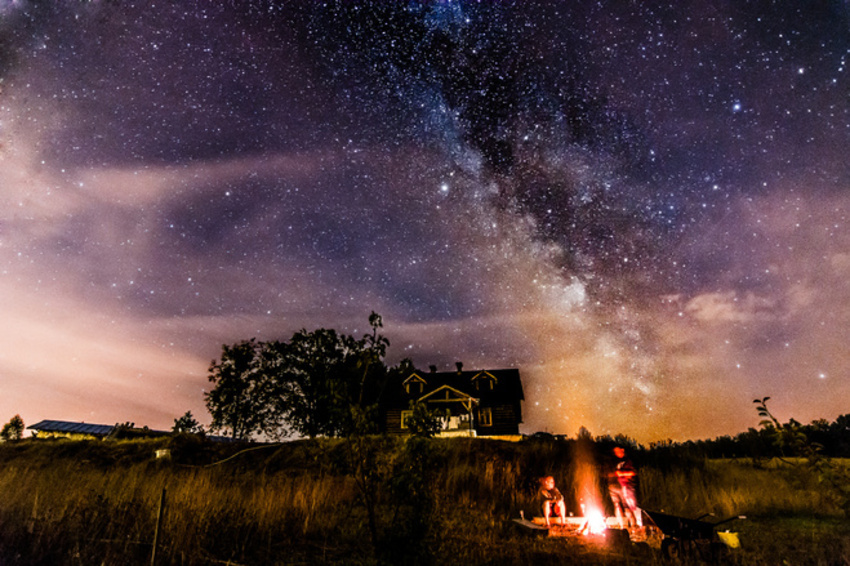
Photo by Piotr Szczepankiewicz
Whenever possible, try to add some element of life — either yourself in the frame looking at the Milky Way, or some form of natural element like a tree. Finding any kind of foreground is the big challenge in the desert, so you have to work hard to find something, because there is not much to work with.
Reduce heat noise
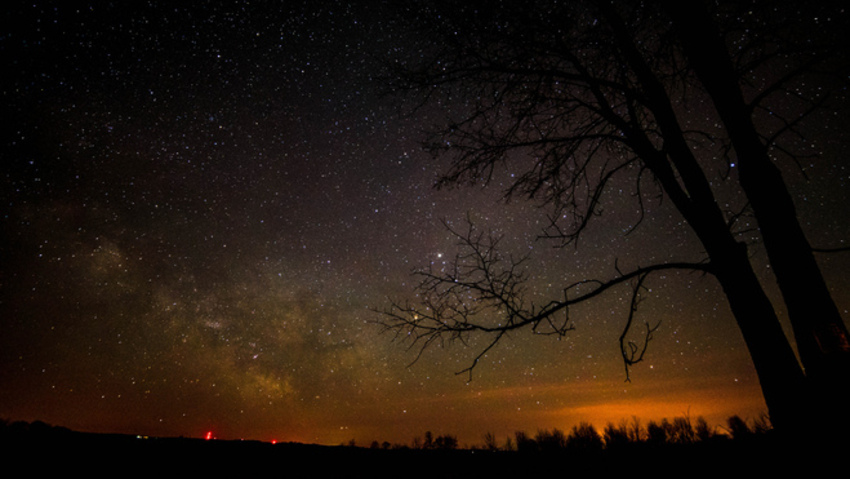
Photo by Ryan Hallock
If you are shooting in the desert in hot temperatures (over 35 C), check your shot for heat noise. Some cameras will create red and blue strings of noise. If this is the case, turn long exposure noise reduction on. Otherwise, leave it turned off. If there is heat noise, the camera will get rid of it, which is easier than doing it in post.
…And up your ISO level

Photo by Yellowstone national Park
If you are new to astrophotography, follow some basic guidelines for exposure settings like the 500 rule, which is just a rule of thumb on how long to expose your shots before they get blurry due to the Earth’s rotation. Also, try to shoot your lens as wide open as possible to gather as much light as you can. Your ISO level should be upped as well to gather more light values, depending on your make of camera and how it handles noise in general. Anything over 1600 should give you decent results. Important to check your lens, and make sure it’s always clean. The front element can fog up easily under certain conditions, and you might not notice it until you get back home, and your shots are blurred. Make sure everything is clear and clean at all times.
Practise before you go
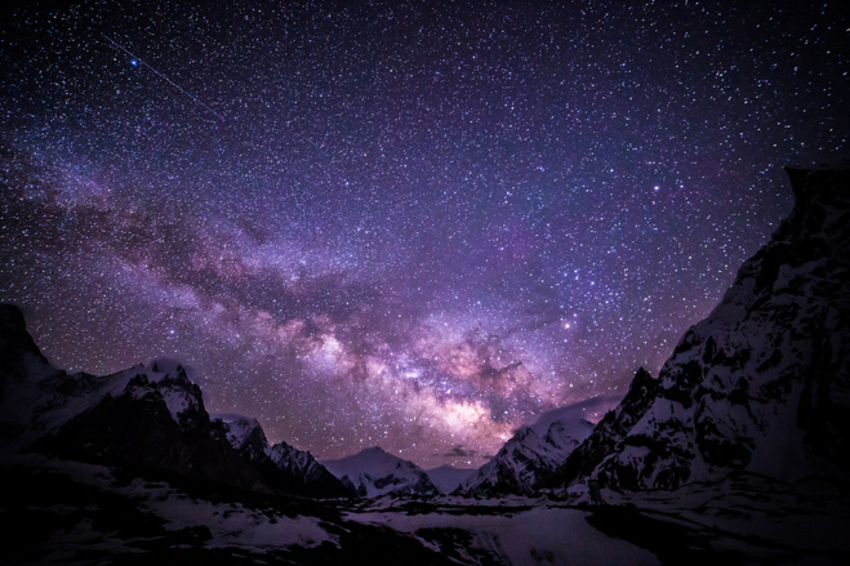
Photo by Anne Dirkse
Practise using your camera in the dark. It’s good to remember how to set everything up without seeing very much. Turning on a flashlight can disturb you while shooting the Milky Way. If you use a headlamp, use a red light, because it’s easier for your eyes to adjust to. Your eyes will get used to the darkness, and you will see the stars clearer after about half an hour.
Get your focus right
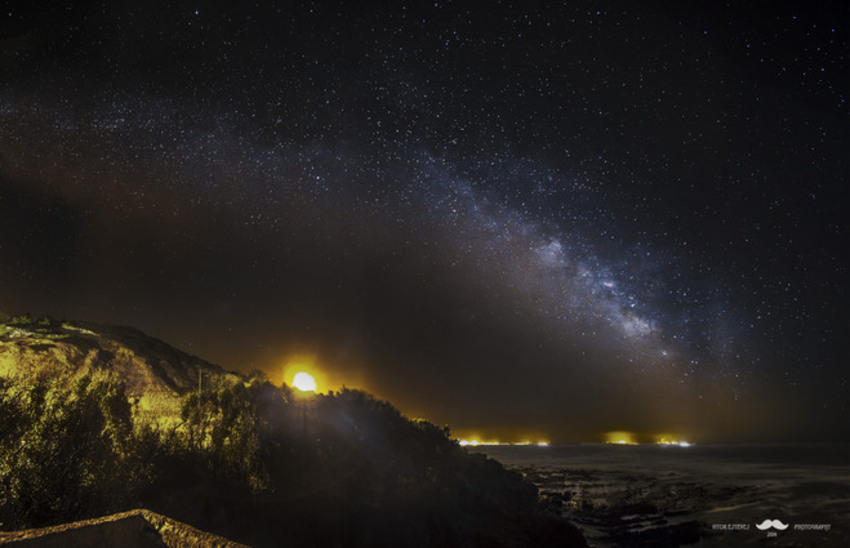
Photo by Vitor Esteves
You have to manually focus your lens, and it can be tricky to get the this right on the stars. If your camera supports live view, go into that, and use the 10x magnification to try to find a single star, and set the focus to that. If your lens has a scale on it that shows you the infinity mark, set it to that, but at least double check it in the live view too to make sure the infinity mark is accurate.
Get your format right
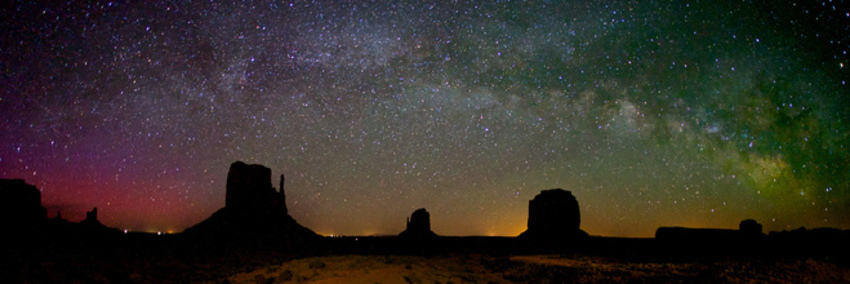
Photo by Chao Yen
Always shoot RAW. For astrophotography, where you want to get the most detail and information possible out of your files, shooting RAW is crucial to get good results in post-processing.
Don’t hope for more than what you see in your camera
Don’t try to get something in post-production that was not there. You have to see the Milky Way clearly on the back of your camera when you’re shooting. If you can’t, your starting point is wrong, and there won’t be much that you can do in post-production.
Finally, some basic safety precautions
Be prepared when shooting in the desert at night. It is easy to lose your sense of direction. Make sure you find your way back to your car or tent. Carry plenty of water (you will run out faster than you think). Take a fully charged mobile with you too — you should always be able to get a GPS signal, which can help you find your way back when you are lost.

Aaand that’s it! All you need to make sure you put your best foot forward in the hot sand on your Milky Way shooting adventure on your Wild West Challenge.